Showing posts with label crafts. Show all posts

Saturday, February 15, 2014

Charging Station

Polly, bless her heart, has a lifelong issue with chewing on cables. Her favorite are headphone and gadget charging cables. That means that I can't leave them sitting out, so cable management is important. What to do? I had this cheap-ass wooden box.

Charging Station

It really is cheap. So cheap that I was afraid to remove the hardware before painting it, because it might not survive the trauma.

Charging Station

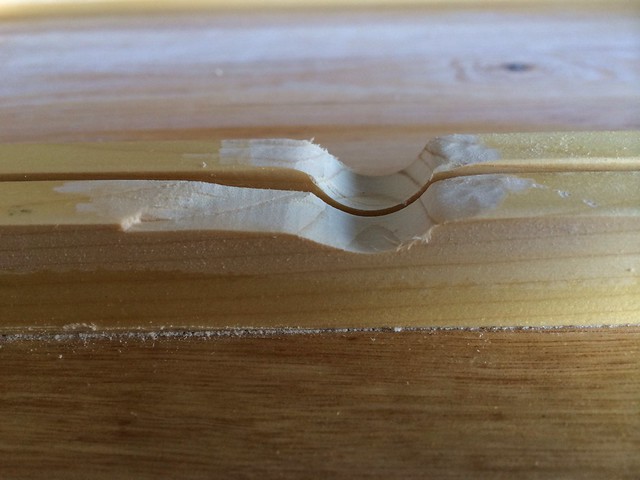
The first step was to use my Dremel to make a hole in the back, for the cords to pass through. I am not a woodworker. I did not do a very tidy job of it. The wood split. I used a grinder attachment to even it out as well as I could, but I am also not the princess of patience. A lick of paint will hide a multitude of sins, right?

Charging Station

So I sanded the whole thing, mixed up some teal paint, and went to work.

Charging Station

It took a couple of coats of paint. After it had dried, I cut some scrapbooking paper to size, to line the drawers and the top.

Charging Station

Et voila. The finished product has room to charge a Kindle, phone, and an iPod. It also has two shallow drawers to hold all the small junk that accumulates on the table inside my front drawer, keeping the cats out of it.

Altogether, the whole project took me about three hours, and that included the time it took me to figure out where in the hell I'd hidden my Dremel.

Tuesday, January 21, 2014

Finished!

I finally finished the basket I was making for Franny's toys, and it's not even June. I used the tutorial here as a jumping off point, but I changed several things.

1. I pulled the strips of T-shirt, to make them curl into yarn-like tubes. I think they're easier to work with that way, and the edges are rolled to the inside, so they aren't likely to fray.

HipstaPrint
Flat

HipstaPrint
Curled

2. I used a no-sew method to join the ends of the pieces together.

Untitled
Stack the ends on top of each other, fold over, and cut a small slit in the center of the folded edge.

image
Unfold, then pull the opposite end of the new piece through both slits.

image
Pull the end of the "parent" piece through the slit of the "child."

image
Pull taught.

3. I aligned the braids so that the stitches are invisible. I'm right handed and worked from left to right. If you look closely at the direction of the strands in the braid, you can see that they mirror the direction of the thread. That makes it easy to hide the stitches under each section of braid.

Untitled

Untitled

4. To start and finish, I tucked the ends of the three strands under sections of braid on the back side. The original tutorial showed tapering the braid to finish, but I didn't like the way that looked.

Untitled
Finished start.

image
Finished end.

And...

image
The End.

ETA: I opted to omit the handles. I'm using this as a dog toy basket, so I didn't want to encourage Franny to drag it around the house. I also changed the way I started and finished. I didn't like the way the gradual step-down looked, so I wove the strands from the ends of the braid back into the braid on the coil below, then stitched them into place. Like so.

Braided T-shirt Basket

Thursday, January 16, 2014

Progress

Untitled

The bottom of the basket is made from t-shirt hems.  If you sew each stitch from back to front, the stitches are invisible on both sides.

If you sew each stitch from back to front, the stitches are invisible on both sides.

I could stop right here and call it a cat bed.

I could stop right now and call it a cat bed.

Wednesday, January 15, 2014

Upcycling

Braided T-shirt Basket

I'm in the process of turning a stack of old T-shirts into a braided basket for Franny's toys. I should be finished sometime in June.